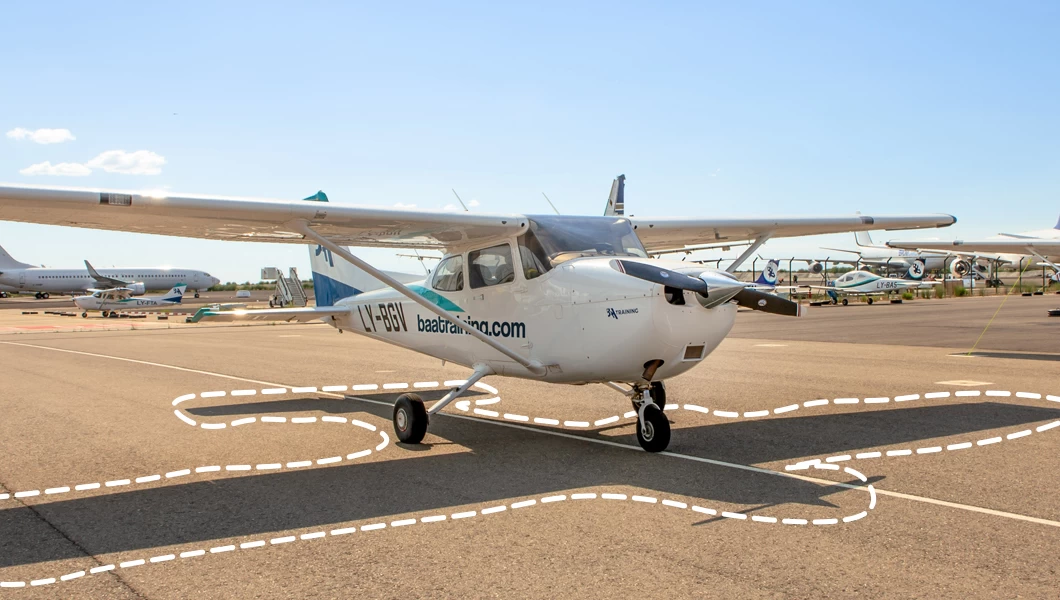
These are crucial inspections that all student pilots, private pilot license holders, and commercial pilots perform, in varying degrees, to assess the aircraft for any visible defects that could end up in an AOG. Our then-student-now-alumnus walks you through the standard Cessna 172 inspection at the BAA Training flight base at Lleida-Alguaire International Airport.
Main points
Before flight, when an aircraft is in a cold and dark state—meaning that all engines have been shut down and cooled (cold), and all systems turned off, lights off (dark)—the first thing a pilot does is check the fuel. It’s a good place to start since the aircraft hasn’t been in motion for a while, and any contamination would’ve settled at the bottom of the tank, perfect for taking a sump sample for inspection.
Then, a cabin inspection follows. Firstly, the pilot checks that all necessary documents are in place and valid and that the fire extinguisher is in place. Avionics are next, making sure electronics are working—engine instruments on G1000, fans, pitot heat, and external lights.
Subscribe to BAA Training
Turning off the avionics, the pilot begins the full walk around counterclockwise:
- Baggage compartment. Should be securely closed.
- Upper and lower parts of the fuselage. Checking for any general damage.
- Horizontal stabilizer. Checking the leading edge, the upper and lower surfaces for any signs of damage.
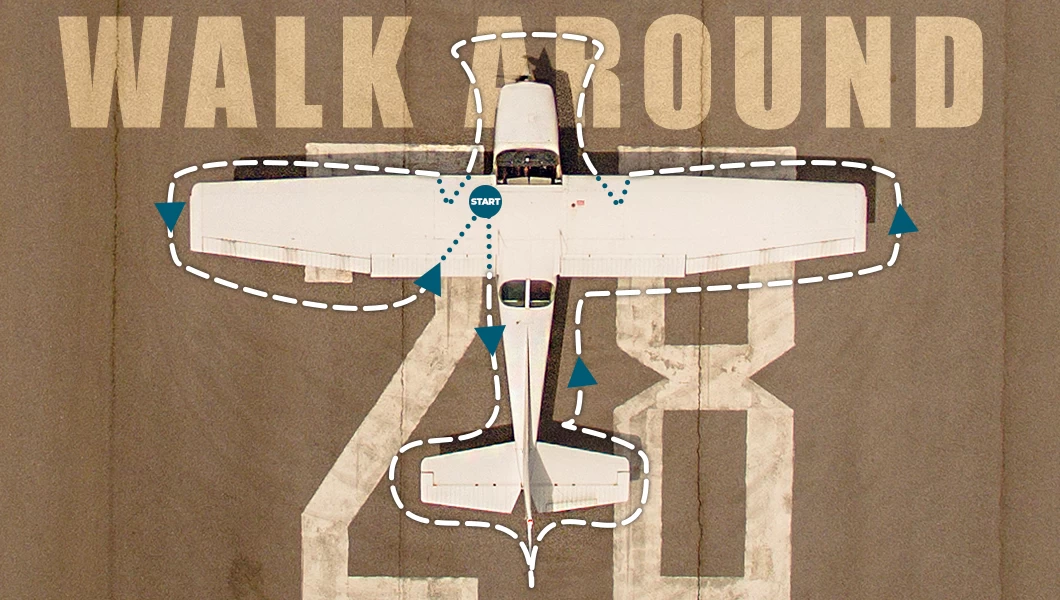
- Elevator. Verifying that it moves freely and is securely attached. Making sure the hinges all look good. Also, checking the condition of the control cable.
- Vertical stabilizer & rudder. Making sure they’re securely attached, move freely. Ensuring that the links are in good condition, Also, checking the control cables.
- Static wicks. Making sure that the wicks on the tail, elevator, and rudder are in place.
- Antennas. Checking antennas on the tail, on and below the fuselage to make sure there is no visible damage.
- Flaps. Making sure they’re locked in place in the downward position and can’t be moved by hand. Ensuring that the rails are in good condition and the flap actuator is secured in place.
- Ailerons. Checking for freedom of movement and security.
- Wing tip & leading edge. Checking for any damage, and looking at the underside of the wing to make sure the access panels are properly closed.
- Main gear. Checking tires for proper inflation and any signs of excessive wear. Inspecting the brake discs, pads, and struts.
- Fuel tank & oil level. Visually checking the fuel level as well as the oil level.
- Nose cowling & landing gear. Verifying that it’s properly attached with all screws in place, as well as checking the nose landing gear—that the tires are in good condition and the suspension is properly inflated.
- Propeller & spinner. Making sure there are no nicks or cracks visible as well as taking a look at all the air intakes and filters.
During the preflight check walk-around, it’s important to look out for any liquids on the ground and contaminants on the aircraft’s surface. Once the check is completed and both sides of the aircraft are inspected, the pilot can then confidently prepare for takeoff.